It got me thinking of what I would like to receive in one big box to help me get through the busy christmas season. For me, christmas is by all means about family, quality time and making memories. So I thought about what essential items I would like to have in that big box as a survival kit for my Christmas. At first my list was quite large, but I took it down to the bare bones of the items I always seem to fall back on and, here it is;

1. Brown paper
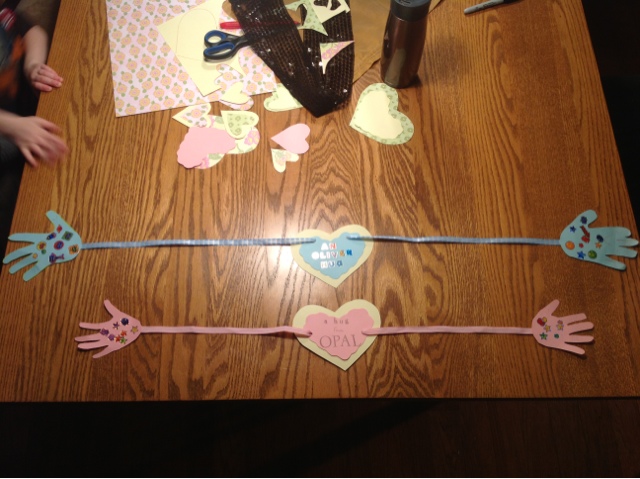
For any wrapping emergency, all I need is a big roll of brown packing paper. The possibilities are endless with brown paper as the backdrop. Get the kids to decorate the gifts with hand print santas and reindeers. Or use colourful markers to add limitless designs. Add some curly ribbon and a fancy gift tag and the bottom of the tree is stunning.

2. Semi-Sweet Chocolate Chips
The base of all things yummy! Melt them to drizzle on a simple batch of sugar cookies for an unexpected party (Ps. Sub brown sugar for white for a delicious twist). Or mix 1/3 cup with 2 cups milk for two cozy cups of decadent hot cocoa to share with a friend. And to get through those midnight madness shopping trips whip up a batch of No Bake Energy Bites for a healthy but effective boost. With chocolate chips in hand, (sometimes literally by the handful) I can conquer anything this crazy season can throw at me!


3. Christmas Music
Just what every power shopper needs to get into the spirit of the season. Or to fuel creativity for a gift wrapping marathon, everyone needs that cheerful glee of listening (or loudly singing along) to the good old faithfuls. Luckily the radio is packed full of great christmas hits for the full month of December, but maybe there's a favourite CD to play over and over and annoy the family. No matter the circumstance, having some good Christmas music close at hand is a must have for all those Christmas preparations and parties.

4. A Christmas Movie
Who doesn't love a good christmas movie! There's something about curling up on the couch with the kids on a cold evening and watching a festive movie that puts a smile on my face. Maybe a new animated Christmas movie to watch for the first time, or a tradition of watching White Christmas with Nana and Papa every year. I look forward each year to pulling out that basket of heart warming christmas tales and watching my kids light up with reminiscing excitement.

5. Camera
My last item, a camera. It must be a reliable one, and fully charged at all times at that matter. But the only thing that warms my heart more than making cherished memories with my family is being able to capture them. I have several cameras in my stockpile to use in different situations, but hoping to add newest to my collection is a mini Polaroid camera! How great it will be to capture these moments and have them instantly to share in a scrapbook. Or organize a fun photo shoot with the kids for a unique christmas card. For me, time flies by so quickly, so it is so necessary to make it possible to look back at those special moments shared with loved ones and friends.

So, that's my list. Peculiar, maybe but that's what makes Christmas for me, and helps me make it a special memory too cherish years to come.
Hope you enjoyed!
Be inspired,